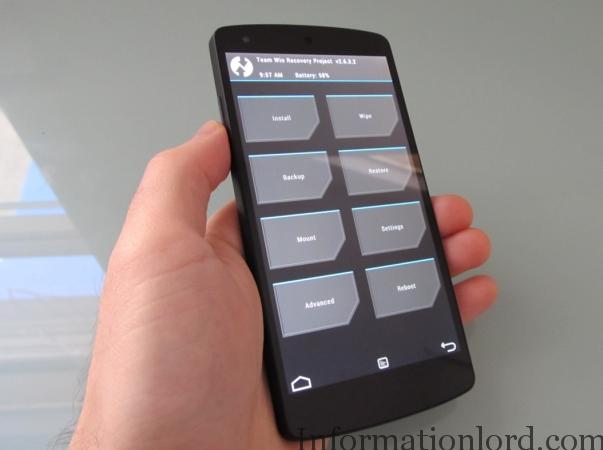
LG Nexus 5X launched last month with Stock Android 6.0 Marshmallow gets TWRP Recovery which will enable Nexus 5X users to create Nandroid Backup via TWRP backup and also flash Custom ROM/Kernels on Google Nexus 5X which is powered by Hexa Core processor. If you do not know what is TWRP, then i guess this post of messing up with Stock Recovery of LG Nexus 5X is of no use to you! But if you want to flash ROM or increase performance of Nexus 5X you will definitely need TWRP recovery!

Procedure to Install TWRP Recovery On Google Nexus 5X :
Lets now head over to Install Custom TWRP Recovery On LG Nexus 5X or more commonly saying it as guide to install TWRP On Nexus 5 2015.
- Enable USB Debugging On Nexus 5X, to do this – Go to Settings -> About Phone -> Tap on Build for about 7 Times and you have successfully enabled USB Debugging on LG Nexus 5X.
- Now Enable USB Debugging from Developer Options that you enabled above.
- Download and Install Universal ADB drivers for Nexus 5X on Your PC or Laptop from here.
- Now grab ADB and Fastboot Zip from here and extract it on your PC.
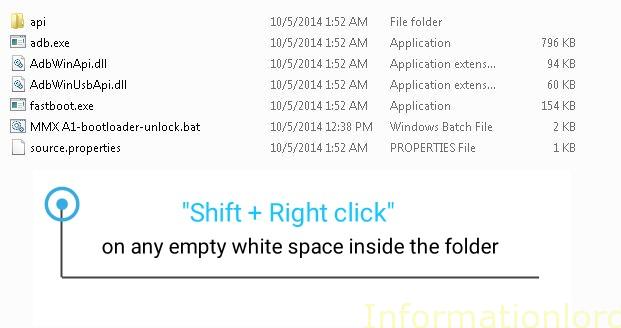
- Connect your Nexus 5X to PC with USB debugging enabled and go to the extracted folder which you downloaded from above.
- Download TWRP Recovery for Google Nexus 5X from here (Go for latest Version)
- Now renanme the TWRP for Nexus 5X you downloaded as TWRP.img and Paste the same in the folder you downloaded i.e Minimal ADB and Fastboot Folder.
- In the folder, By Pressing Shift Key, Right Click on the empty space – and select Open Command Windows Here

- You will see command promt out there, Type in : adb reboot bootloader
- Your phone will be booted into Bootloader mode, now type in : fastboot flash recovery TWRP.img
- This will replace your stock Nexus 5X recovery with TWRP recovery!
- Now type in as : fastboot reboot
And you have successfully installed TWRP Recovery on Nexus 5X device! If you are struck anywhere, then feel free to comment here! Do subscribe to our site for other updates regarding Nexus 5X!