If you are a constant OS X Wi-Fi user, then surely you faced network slowdown sometime. When you are using your Wi-Fi in router crowded area, there are most chances to get this problem and you get slower internet speed from your router than usual.
To get out of this problem, you may think to get some app for it from Mac App Store that can handle this task. But there is a feature in OS X for this, it’s little bit hidden though. Let’s dig OS X to see how it works.
Also Read : Run Mac Along Side Windows
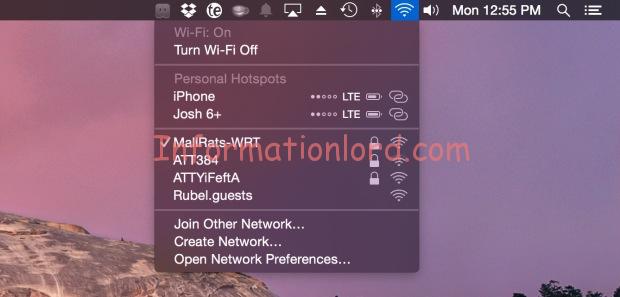
To start, go to Wi-Fi icon in OS X menu bar, if it’s not there then go to System Preferences> Network> Wi-Fi, and select “Show Wi-Fi status in menu bar” option.
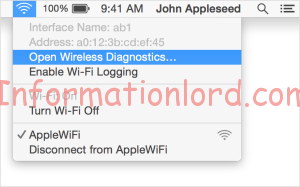
Hold down option key and click Wi-Fi status icon in menu bar to see Wi-Fi scanner, then select “Open Wireless Diagnostics…”

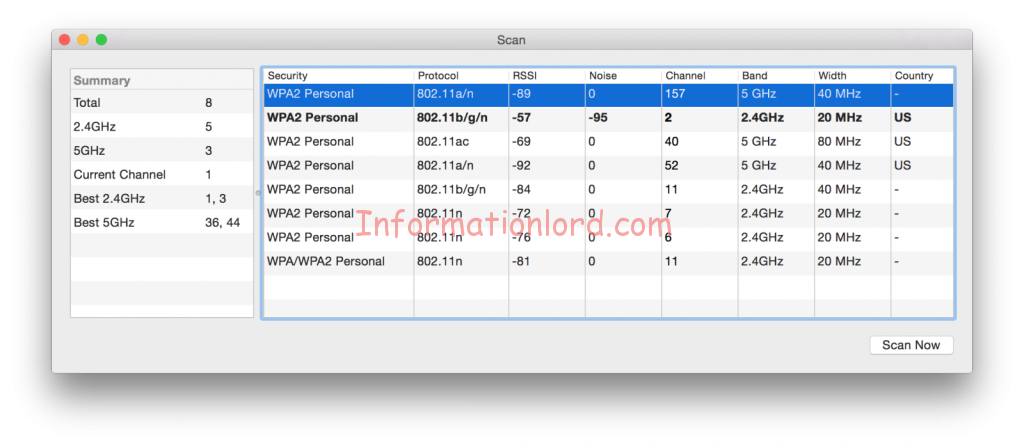
Now in Wireless Diagnostics app, go to Window> Scan, or use Command + 4. It’ll show a list of all available networks around you, with their details like name, security, protocol, signal strength, noise, channel band, and width. The bold one showing in list is currently connected network.
There’s a summary of available networks on left side of app, which includes information about available networks according to 2.4 GHz, 5 GHz, and total. It also shows the best 2.4 GHz and 5 GHz networks from all.

The scanner automatically figure out best channels of 2.4 GHz and 5 GHz nearby and shows recommended channels list by analyzing them. Now all you have to do is change your router setting according to recommended channel, which will provide best speed and collisions will be limited to routers only in same range instead of every network nearby.